Today I am happy!
Just finished another art piece, and this one I'm quiet excited to share with you. I have been meaning to draw Kurt for some time now. I just wanted to get some practice in as to not disappoint the great Cobain. Like most artists I suffer from being a slave to my own perfectionism. A lot of the time when I complete a piece I don't even want to look at it because instead of seeing what went right, all I see is what I did wrong. This is the first drawing I completed in a while that truly makes me smile.
The feeling one get's when they decide they are going to do something, work hard and it all comes together as planned, is a Euphoria that no drug can match. The most depressing times of my life were those in which I was not accomplishing anything by existing. I feel it is no coincidence that creating and contributing makes us feel good. It's as though these reward systems are ingrained in our DNA in order to make a richer life for all. This is the type of instinct that drives a species forward. So if I am ever feeling down, I create and it makes me feel so much better. I realize that all sounds super corny, but it couldn't be more true for me.
This is my process, and with some time and determination I am sure I can walk you threw creating this art piece. Then you too can share with me the euphoria that is creation of art!
"Who knows? Not me
We never lost control
You're face to face
With the man who sold the world"

What you will need
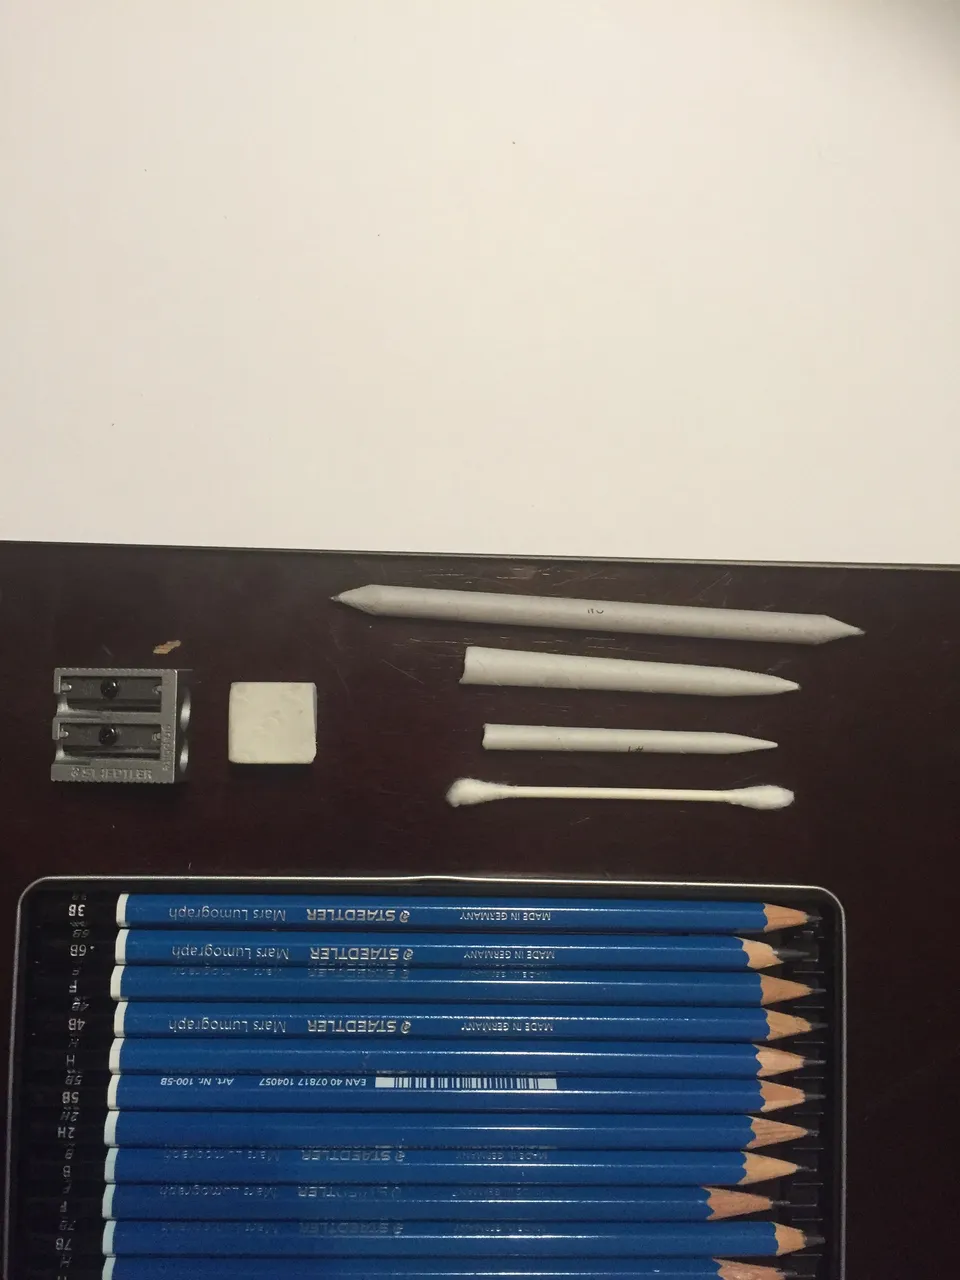
artists pencil set, paper, eraser, shader/q-tip
For the hair I suggest when starting out to just sketch the general shape and angles first.
Shade it in completely with a light grade pencil. The actual strands of hair will then be created by taking an eraser and making fine strokes in the direction the hair flows.
In order to get proportions and placement right think of where lines are in relation to one another.

Add in the shapes on the jacket that will be the lightest

Now start to shade in the dark areas

Use your shader to smooth out the graphite and make it look cleaner

Repeat the process until you have the desired level of contrast

When you get to this step I recommend using a blank piece of paper to put over the area your hand may be rubbing up against as to not ruin your hard work.

Finish up by shading in the background just dark enough so that you can erase the area in which will be the smoke cloud
1967-Forever
Send a up-vote my way if you liked this and would like to see more.
If you have requests for possible future drawings let me know in the comments.
I hope you all enjoyed the tutorial,
Barry F Samways