
Hello dear steemians and gardening fans out there, today i like to present you a how to how to build up a garden pond.
Yes you always start with a big pit.
It tooks us 2 days with 2 man and only manpower to burrow it out. It has space for about 3000Liters water.
The pit can have several levels to have some flat and deeper water. It looks always a way better.
💡 I recommend to have one location with at least 90cm-100cm deep, to avoid complete frozen water in the winters.💡


Some things you will need for your perfect garden pond.
- fibrous web (against weeds and roots)
- PVC pond liners (film)
- cocos mat
- water plants
- decoration (houses or vase)
- gravel
- stones (small and big ones)
- a pump with a filter
- water and goldfishes or kois
In first step you start with collecting all small stones in the pit, they could be sharp and destroy later the film. Then you are ready to bring up the fibrous web like in the next picture. It will protect the film from roots wich could drill trough it, and other weeds, which you dont want in your pond :-)

To bring up better the fibrous web, you can also cut it in stripes.
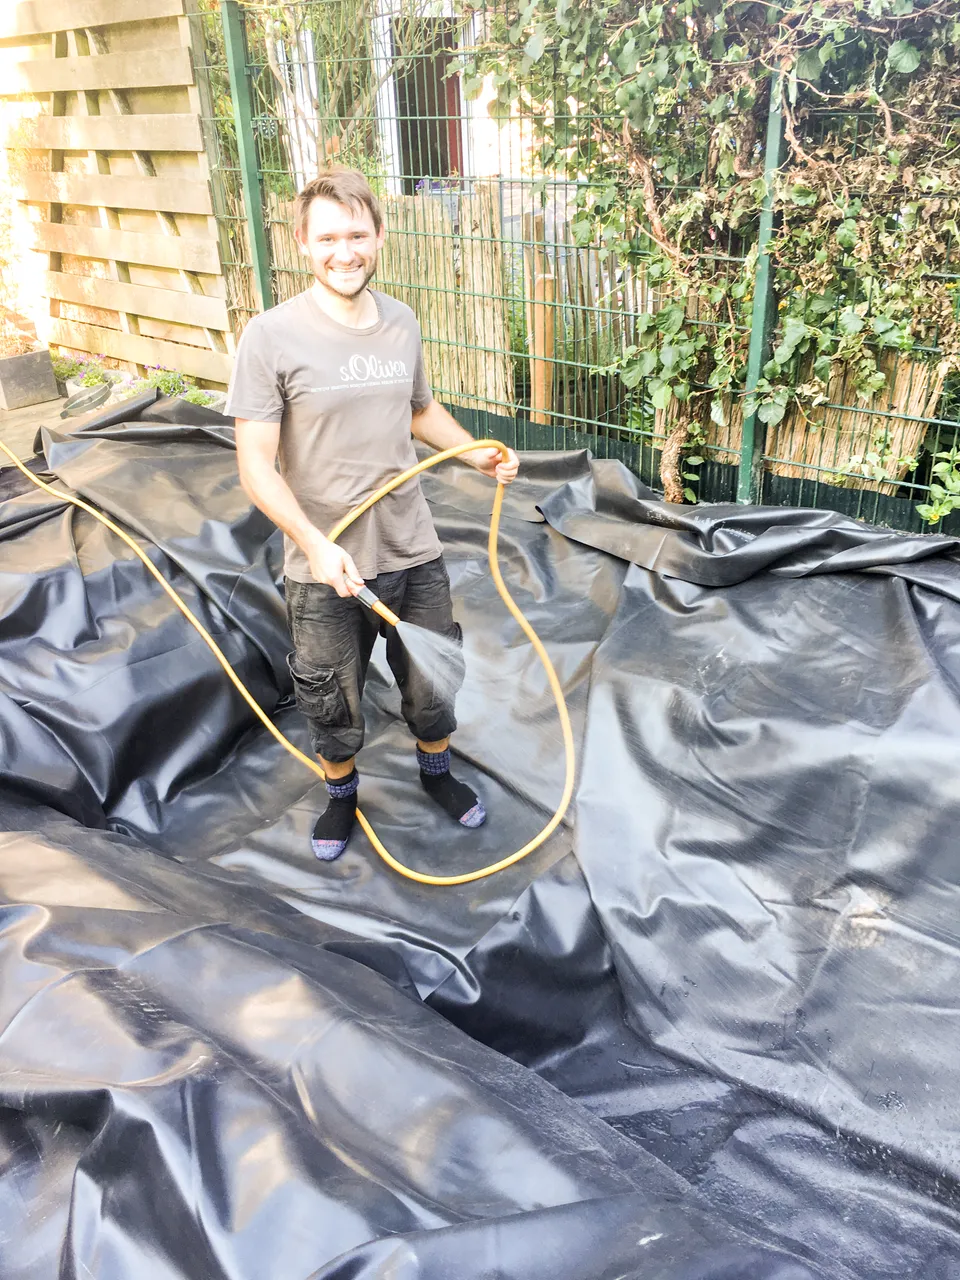
If you are ready with this step, then you can bring on the pond film.
I take for this PVC pond liners.
💡Do this on a sunny or warm 🌞 day, so the film would be better to appy in the pit.💡

Yep and then you are ready to flush the water in it :-)
💡 I wear socks, so my toenail or shoes could not destroy the film. 💡
... more water

... and even more water

💡Little rocks can hold the underwater plants, so they come not up the the surface💡
In this moment you can also bring up some decorations. like an ancient city, or some houses or vases.


... yes and even more water ! It tooks some hours to fill it complete up.


So at this step the water is filled up. And we can start now with the stones, decorations and stuff at the edges.
I take cocos mat to fix the stones and plants at the borders.
It looks like a little fish is in it :-)


We should not let hime alone, so he got some little friends. Buyed some goldfishes and shubunkin. Always hungry the little ones :-)


In the next step i buyed some underwater lights, so we have a nice athmosphere at the evenining when its getting dark outside.

💡 At the edges just play around with big and small rocks, so it looks naturally. 💡
I like the yellow sun rocks, they look very nice.


FIN :-) with the pond, but not with my lawn... it had sufferd hard when i build the pond. So it need new fresh new seeds to make it looks good.


Looks like it is now time to fire up the BBQ :-) 🍗

If you liked ✓
Than i appreciate your follow, resteem and browse my blog for more ❕
🌟 Greetings your @avizor 🌟