


"Todos tenemos habilidades que una vez aprendidas, debemos compartir" @leticiapereira.
Nada mas bonito que compartir lo que aprendemos, dejar un legado es la bendición mas grande, saben porqué?, porque a medida que entregamos a otros un poco de nuestra energía nuestro conocimiento se multiplica y la creatividad fluye.
"We all have skills that once learned, we must share" @leticiapereira.
Nothing more beautiful than sharing what we learn, leaving a legacy is the greatest blessing, you know why, because as we give to others a little of our energy our knowledge multiplies and creativity flows.

Hola amigos, es un gusto poder volver a escribir, en esta oportunidad, realizando una hermosa iniciativa de mi querida Comunidad Hive Diy, donde el protagonista es "La diversidad del Hilo"; primero que nada, no quiero dejar pasar por alto a los ganadores del concurso anterior: Muchas Felicidades..!!, Excelente Trabajo con el fieltro..!.
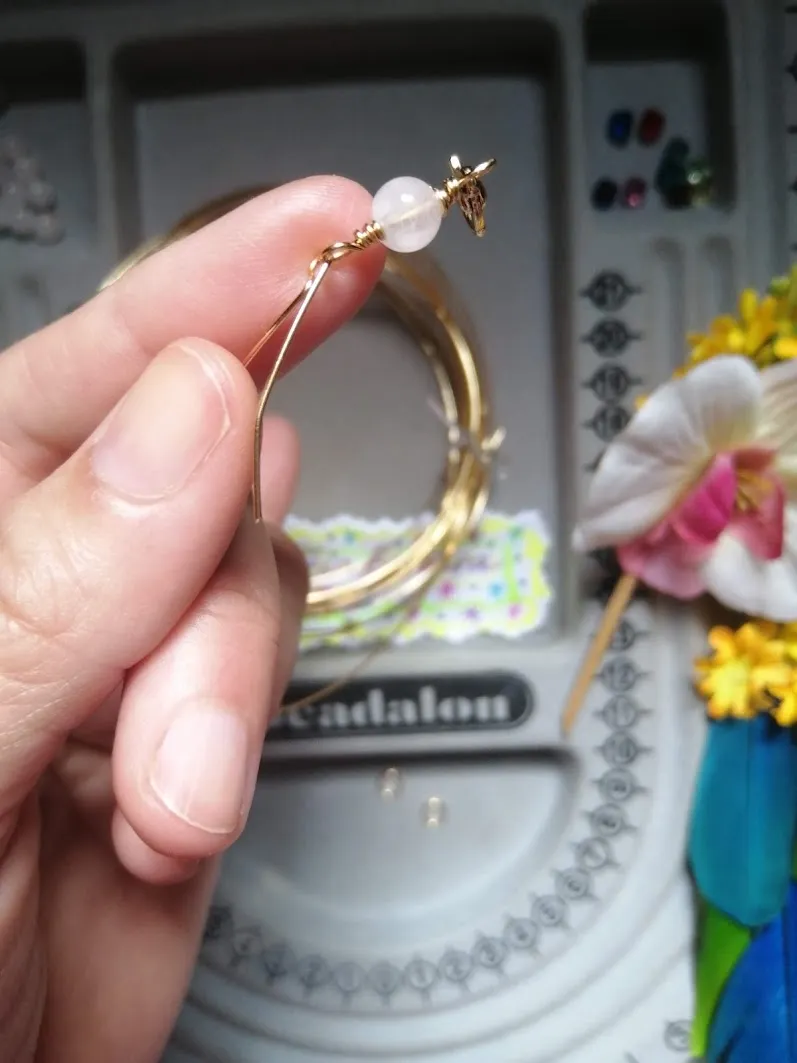
En esta oportunidad, quiero presentarles una pulsera realizada con técnicas de alambrismo, utilizando cristales y piedras naturales. Mi deseo es que puedas utilizar esta publicación para que emprendas desde cualquier lugar de Venezuela y el mundo: obtener ingresos adicionales y/o tener una bella y delicada manualidad para regalar a tus seres mas queridos.
Hello friends, it is a pleasure to be able to write again, in this opportunity, making a beautiful initiative of my dear Hive Diy Community, where the protagonist is the "Wire World"; first of all, I do not want to pass over the winners of the previous contest: Congratulations!!!, Excellent work with the felt...!!.
In this opportunity, I want to present you a bracelet made with wire wrap techniques, using crystals and natural stones. My wish is that you can use this publication to undertake from anywhere in Venezuela and the world: to obtain additional income and / or have a beautiful and delicate handicraft to give to your loved ones.

Materiales a Utilizar:
- Pinzas básicas de bisutería (planas, redonda, corte, silicón -opcional-)
- Un (01) broche
- Un (01) aro de alambre rígido
- Seis (06) piezas de cuarzo rosado de 6mm
- Cinco (05) piezas de cristal de Swarovski de 6mm
- Alambre de bisutería nro. 22
- Tabla de diseño, en su defecto una regla.
- Paciencia y mucho cariño
Materials to be used:
- Basic jewellery tweezers (flat, round, cut, silicone -optional-)
- One (01) brooch
- One (01) 6mm rigid wire hoop
- Six (06) 6mm rose quartz pieces
- Five (05) pieces of 6mm Swarovski crystals
- Costume jewellery wire no. 22
- Designing board, or alternatively a ruler.
- Patience and a lot of love

Procedimiento a seguir:
Lo primero que vamos a hacer al momento de realizar cualquier trabajo manual, es tomar una respiración profunda, soltar los pensamientos y dejar que la creatividad se apodere de nosotros: expiramos estrés, inspiramos paz, tranquilidad y belleza.
Ahora si estamos listos para iniciar!
Sin cortar el hilo de alambrismo nro. 22 (pueden utilizar un nro. 20 si lo prefieren mas rígido), introducimos nuestra primera pieza de cuarzo rosado.
Procedure to follow:
The first thing we are going to do when doing any manual work, is to take a deep breath, let go of our thoughts and let creativity take over: we breathe out stress, we breathe in peace, tranquillity and beauty.
Now we are ready to start!
Without cutting the wire wire no. 22 (you can use a no. 20 if you prefer it more rigid), we introduce our first piece of rose quartz.

Con la ayuda de nuestra pinza redonda, medimos aproximadamente 5cm de hilo y realizamos un aro, dejando el hilo en el extremo para poder realizar un amarre en el hilo central, tal como se muestra en la foto:
With the help of our round pliers, we measure approximately 5cm of thread and make a ring, leaving the thread at the end so that we can tie it to the central thread, as shown in the photo.

Una vez llegado al final del hilo, con la ayuda de una pinza de corte (puedes usar un corta cutículas para que sea mas prolijo), retiramos el hilo sobrante bien adosado a la pieza, para evitar futuras molestias en la piel.
Once you have reached the end of the thread, with the help of a pair of tweezers (you can use a cuticle cutter to make it neater), remove the excess thread closely adhering it to the piece, to avoid future discomfort to the skin.
De esta manera podemos ver como ha quedado nuestro primer aro:
This way we can see how our first hoop has turned out:

Ahora nos vamos al otro extremo y cortamos aproximadamente 6 cm de hilo
Now we go to the other end and cut approximately 6 cm of thread.

Con la pinza redonda, marcamos la formación del aro, sin cerrar:
With the round tweezers, we mark the formation of the ring, without closing it:

Integramos el broche:
We integrate the clasp:

Y repetimos el paso del cierre, abrazando el hilo central con el extremo. De esta manera hemos iniciado nuestra pulsera (o collar).
And we repeat the clasp step, embracing the central thread with the end. In this way we have started our bracelet (or necklace).

Ahora tomamos nuestro cristal de swarosvki y repetimos el primer paso:
Now we take our swarovski cristal and repeat the first step:

Antes de cerrar nuestro primer aro, asegúrate de colocar el eslabón que ya hemos realizado previamente:
Before closing our first hoop, make sure to place the link that we have already made:
Siempre coloco el eslabón anterior de primero, para evitar que hayan saltos en la secuencia.
I always put the previous link first, to avoid any skips in the sequence.

Cerramos nuestro segundo aro de eslabón y a partir de aquí, vamos a ir alternando las piezas según el diseño que nos hemos planteado.
We close our second connecting hoop and from here on, we will alternate the pieces according to the design we have planned.

Aquí observamos como va tomando forma nuestra bella pulsera:
We can see how our beautiful bracelet is taking shape:

En la parte superior de nuestra tabla de diseño, podemos colocar en orden las piezas que vamos utilizando, a su vez ir midiendo el tamaño de nuestra pulsera (unos 19cm aproximadamente).
At the top of our design table, we can place the pieces we are using in order, and measure the size of our bracelet (about 19cm standard).

En el ultimo eslabón, vamos a colocar el aro de alambre rígido; puedes colocarlo de esta manera o abrirlo y ajustar con ayuda de pinzas.
On the last loop, we are going to place the rigid wire ring; you can place it in this way or open it and adjust it with the help of pliers.

Debemos tener la precaución de ir cortando el hilo a medida que avanzamos, observando que no queden detalles que puedan ocasionar daños en la piel.
We must be careful to cut the thread as we go along, making sure that there are no details that could damage the skin.

De esta manera vemos como ha quedado nuestra linda pulsera: delicados y armónicos componentes que seguro gustaran a todos!
This is how our beautiful bracelet turned out: delicate and harmonic components that will be loved by everyone!

De esta manera hemos llegado al final del tutorial, espero que te haya gustado mucho y que sobre todas las cosas sea utilizado para que puedas emprender en tu negocio o para tu uso particular. Quiero invitar a mi querida amiga y colega artesana @carolinacardoza, para que se una en esta iniciativa..!!
This is the end of the tutorial, I hope you liked it a lot and that above all it can be used to help you in your business or for your own use. I would like to invite my dear friend and fellow artisan @carolinacardoza, to join me in this initiative...!!!

Una vez mas gracias a los moderadores de Comunidad Hive Diy y a su moderadora de la semana @marybellrg quienes realizan un excelente labor en pro del buen contenido en #Hive; Espero verles en el próximo tutorial que estoy segura les va a encantar..!!
Por favor cuídense, mantengan las medidas de bioseguridad a pesar que se encuentren vacunados, de esta manera también cuidaran de sus seres amados. Seles quiere mucho..!!
Once again thanks to the moderators of Hive Diy Community and to your moderator of the week @marybellrg who do an excellent job in favour of good content in #Hive; I hope to see you in the next tutorial that I am sure you will love...!!!
Please take care of yourselves, maintain biosecurity measures even though you are vaccinated, this way you will also take care of your loved ones. Seles loves you very much!

@leticiapereira
Camera: HUAWEIY9/2019
Central picture performed by CANVAS
Translated with www.DeepL.com/Translator (free version)