
Fascinated by dot-art technique
Since I saw some very great dot art paintings some years ago, I have developed a fascination for this technique. I told myself that I wanted to learn how to create dot art one day, but never actually took the step to start trying this myself. I wanted to create dot arts on stones, but never found the right stones. On stones it looks awesome if you have those with the right surface for it. A while ago, I found some stones, thinking they'd be ok for this, but at home I found out these weren't of much help.
Salt dough instead of stones
I was watching some videos about different crafts and bumped on one demonstrating how you can make salt dough in a heartbeat and it's super cheap as well. So many cool home decorations are possible with this stuff, I watched so many videos after this discovery that I'm now full of ideas. But first I've decided to make simple rounds to teach myself how I can make dots for dot art paintings. Doing this on objects is totally different than on paper or canvas, and I want to learn how to do so on stones and other objects, this should be perfect to practice.
Let's get started
First, you have to make the salt dough, which is super easy and you probably already have all the ingredients at home.
This is what you need:
- 1 cupful of plain flour (about 250g)
- Half a cup of table salt (about 125g)
- Half a cup of water (about 125ml)
Instructions:
Preheat the oven at 100 degrees Celcius.
Mix the flour and salt in a large bowl. Add the water and stir until it comes together into a ball.
Put flour on your working surface and start creating whatever you desire to create. I decided to only make round plaques to practice the dot art technique, but I will be creating home decoration soon now I've discovered how simple it is to make salt dough creations.
Once satisfied with the creations, put them on a baking sheet on a plate in the oven for 1,5 hour. If you have created thicker items, you may need to bak it a little longer, just check it every 10 minutes or so.
Let it cool off before you start painting.
Let's start the painting
So don't expect me to present the coolest artwork here, as I mentioned earlier in the post, this is to practice the feel of creating dots on an object instead of on a flat paper or canvas. I started with one of the rounds and gave it a yellow base color (I used watercolor paint for this part).
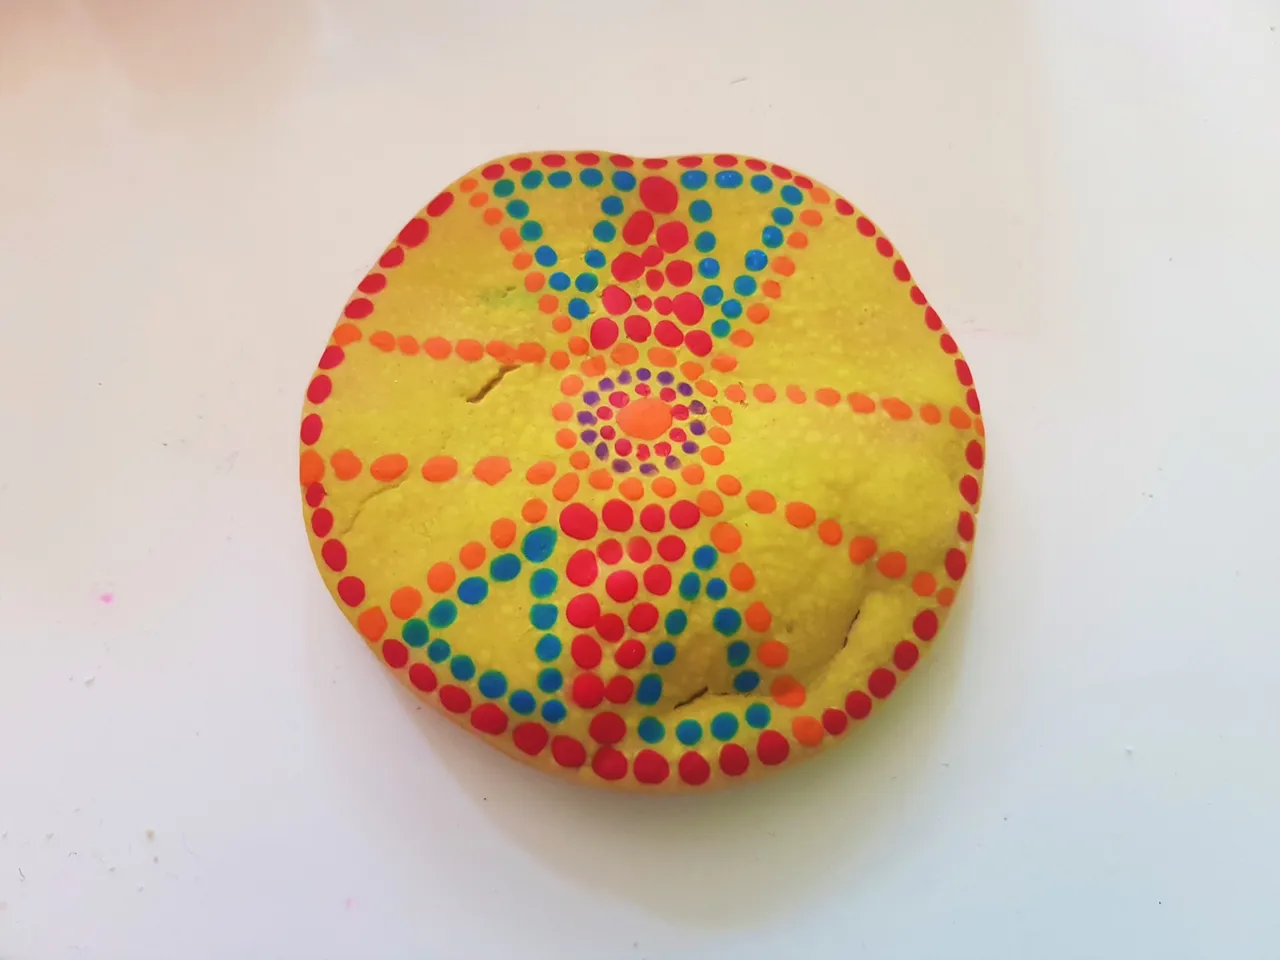
After this had dried, I took my acrylic paint and a few different sizes of brushes. For this, you can decide which thickness of brush works best, I tested the middle dot with a thick brush but that didn't really work out that well, so next time I will just use a smaller one with more paint on it.
I quickly learned, that having a design ready, rather than just do something is a smarter idea, but at least I didn't ruin any expensive object or cool stone here but only cheap salt dough :)
I tried making a few circles around the middle dot, using different colors but I clearly used too little paint as they were quickly sucked into the salt dough (so it seems). But I'm not going to quit now, let's finish it and get familiar with the feeling of creating dots.
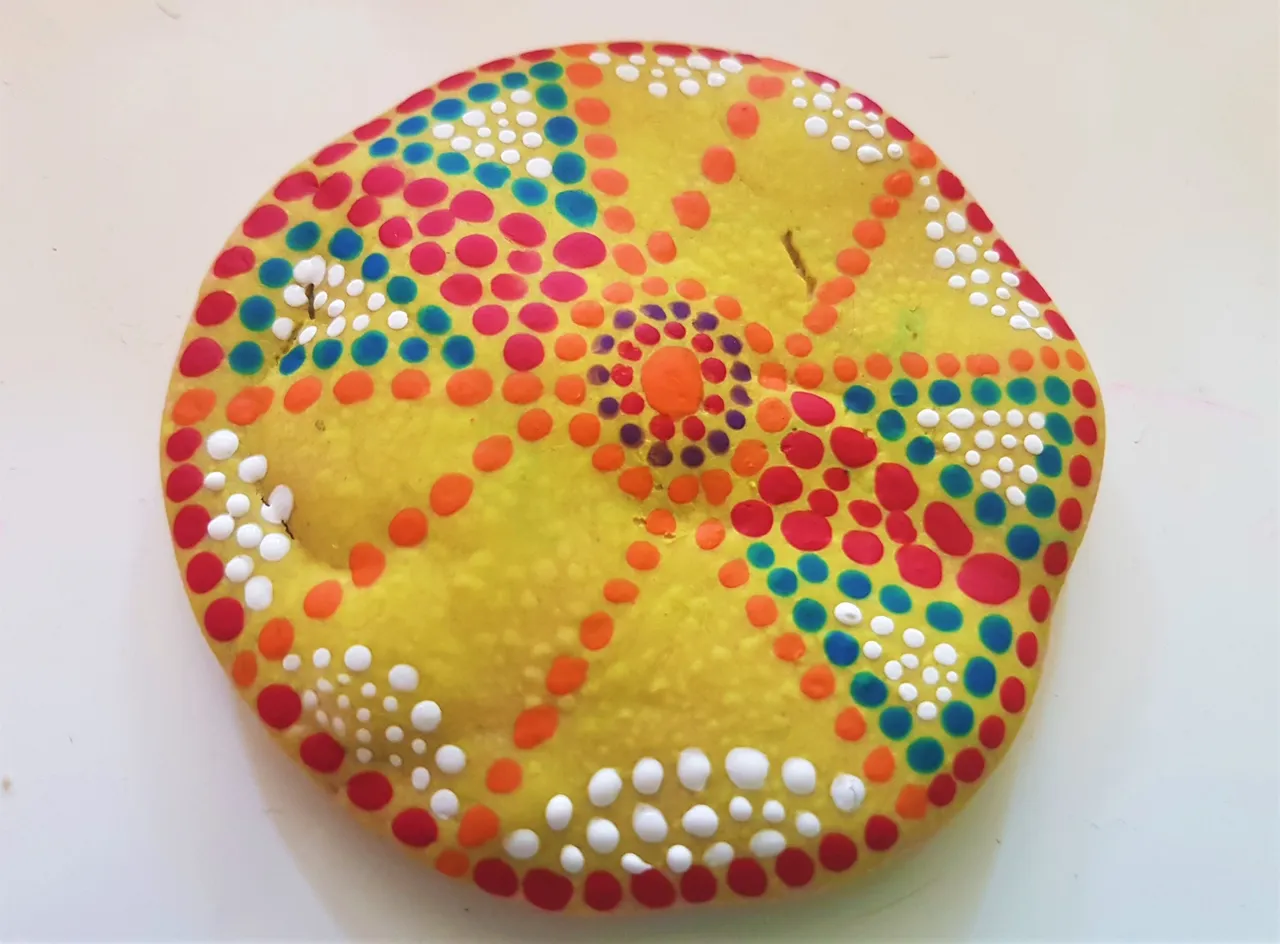
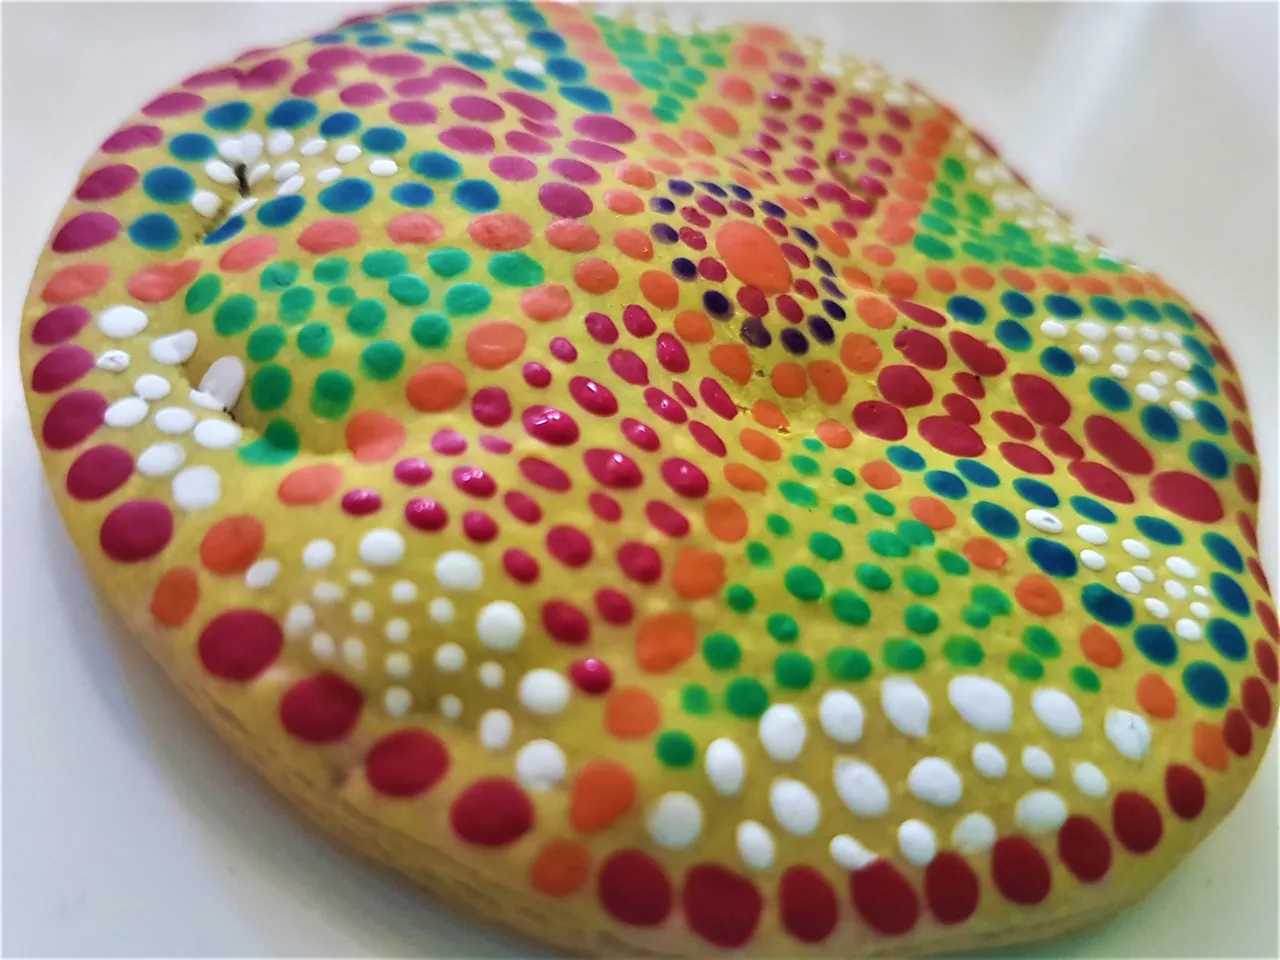
I'm glad I continued because when I started using the white paint, the dots started to get more actual dots on top of the dough instead of being sucked in immediately. This is what I wanted to see. I discovered that I needed more paint on my brush to create these and needed to double-check if my brush was dry enough after changing colors. Unfortunately, sometimes it turned out a bit wet.
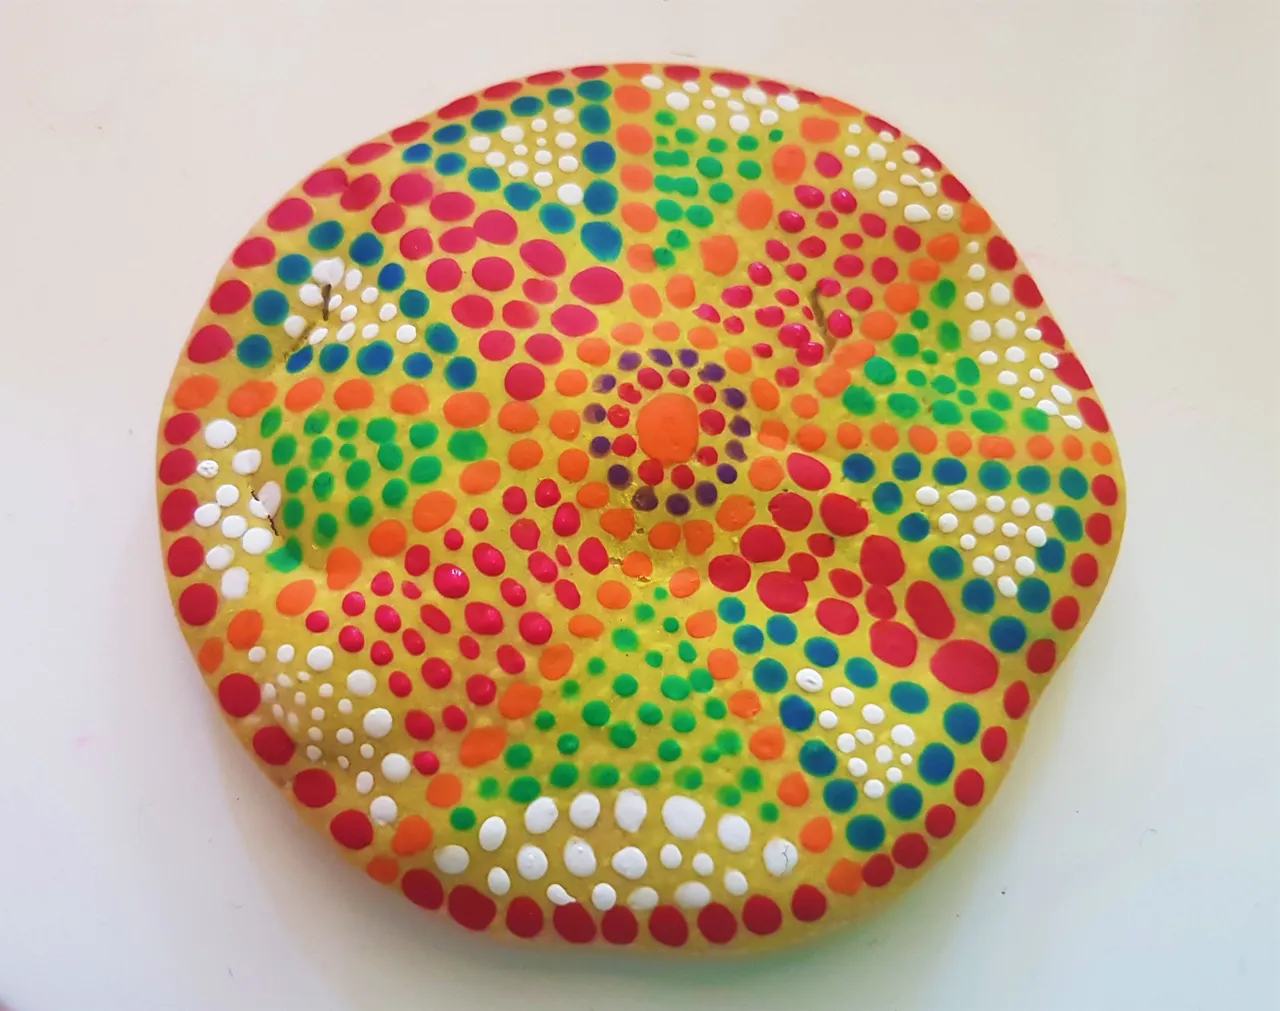
The end result from above. Not a great piece, but I'm sure I can make some kiddo happy with it. Next attempt I will start dotting with a design on paper so I have some guidelines to start with. It has proven to be harder for me to do it without a plan.
Hopefully you liked the idea of this artwork on salt dough. Stay safe, and until next time!