

Edited in Canva Pro.

Sources and Materials
Below are the materials I used in this art.
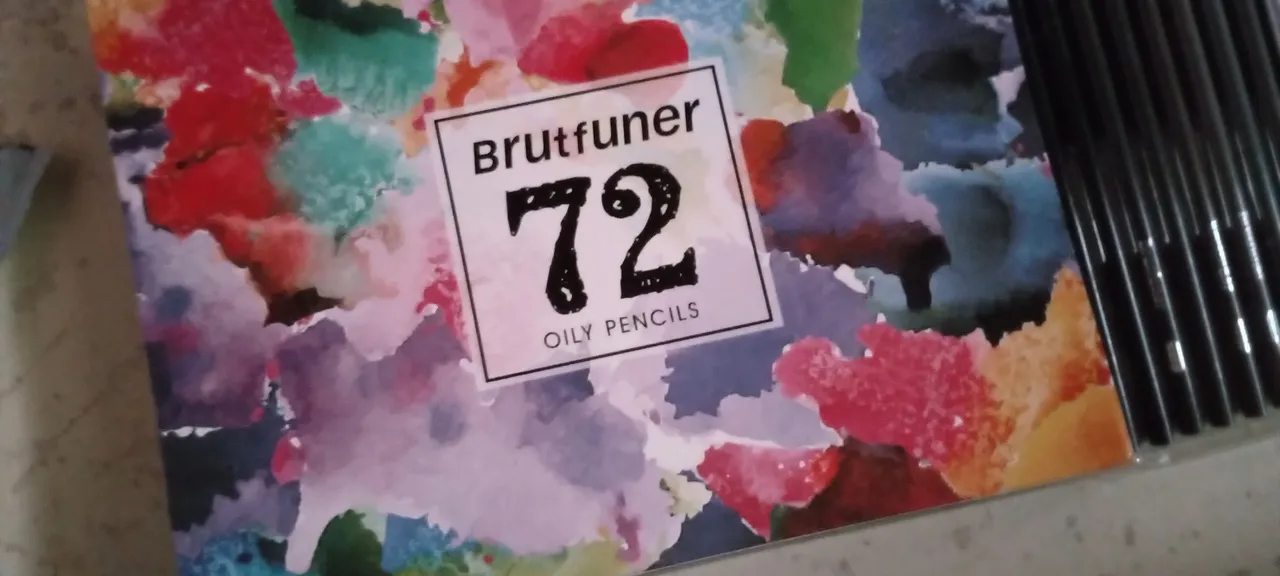
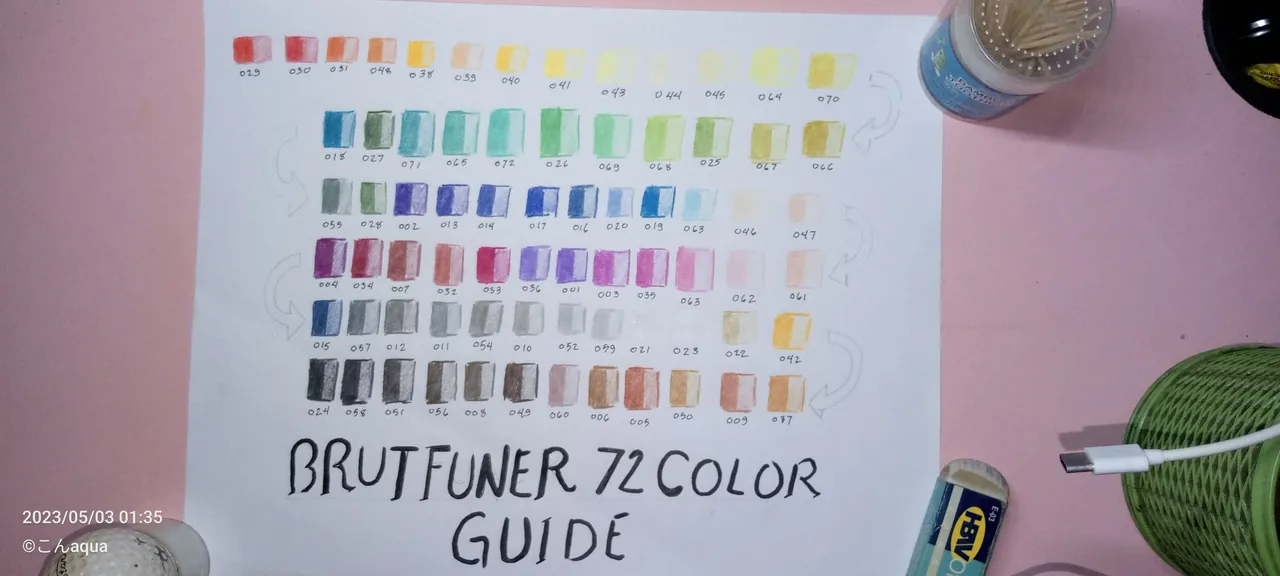
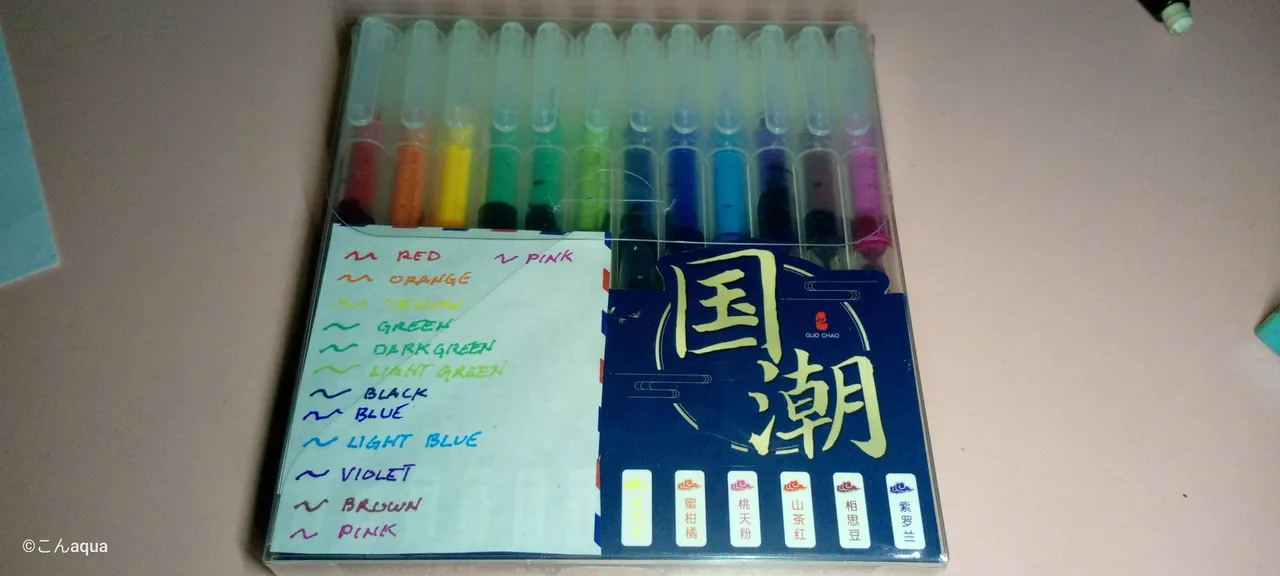
Photo taken using Tecno Spark Go.
𝕴𝖓𝖙𝖗𝖔𝖉𝖚𝖈𝖙𝖎𝖔𝖓
I want to try something different. I did this style before on my random drawings and I remember that I failed spectacularly. I did that probably a year or two ago and maybe because I am still getting the hang of it or trying to copy someone else's style and so is the result of the failed drawing.
I tried to find it but probably due to my annoyance, I threw it away before. But now, I am slowly improving and although it isn't perfect, the style that I tried before worked.
It's a hair style that is very annoying to do simply because of how complicated it is. If I would say it in a camera's point of view, the blocking for each section is absolutely horrible to do. It may not make sense if I am only talking about it so see it for yourself.
By the way, this thumbnail of Wellerman is the main inspiration of my art today. The video title where you can find the thumbnail is "Gura & Kronii sing - Wellerman by Nathan Evans (Duet)" and is posted by Aisuki Ch. I searched the description but I am confused if this Nathan Evans is the one who drew the thumbnail. Whoever did it made a really good job and made me inspired to make my own pirate-concept character.

Lore
"Yo ho ho, the pirate life's the way to go."
"Yo ho ho, when you see me, you can't say no."
Cordelia Lovelock is the pirate captain's right hand man. The tattoo on her face symbolizes the platoon she is in charge of. Anyone on the pirate business had heard of the "Lovelock's 2nd Platoon." Do not be fooled by her beautiful looks or lovely eyes, I can certainly tell you that you don't want to meet this one in the middle of the sea.
Abandoned by her parents, Cordelia Lovelock started as a cabin boy, cleaning ship docks at the earliest of age. She became a stowaway on one of the pirate's ship unintentionally while hiding from the Silvershields. Due to her will to survive, Cordelia strived to slowly rise up in the ranks and became one of the closest confidants of the pirate captain.
Eventually, she was given her own platoon and became the captain itself. However, Cordelia prefers to be in the battlefield than piloting the ship. There was a time that she was engaged in a fight with another captain due to difference in opinion. While the two ships were engaged in the battle, while cannonballs fly towards each ship, Cordelia only needed her trusty pistol to break the opponent's morale. Cordelia, with one bullet, shot another captain in the head while being on another ship and this eventually gave her the title of, "The Gunner," and became a name famous throughout Praetoria.
Step 1 Draft

<Photo taken from Tecno Spark Go.
I realized that since the Mycelic family in Splinterlands is growing, we need to focus and gave the original archetype a new member. We have a Pirate Captain and Pirate Archer cards but that's it. That is why I wanted a new "Pirate" card who not only fits in the theme but also has an updated look capable of fighting against the Chaos Legion.
I used this reference for the pose and background but changed the camera perspective to add challenge to myself.

Photo taken from "Geek x Girls" as a result of Google Search.
Then, I used the next two references for the outfit and accessories.


Photo taken from Pinterest as a result of Google Search.
I also used the next reference from League of Legends for the idea of the heart smoke.

Photo taken from Universe of League of Legends as a result of Google Search.
Lastly, I needed to cut the blacks in this art so I added a breast plate that I remembered from playing Ragnarok. It is nowhere near the same but the inspiration definitely came from that.

Photo taken from Google as a result of Google Search.
Step 2 Ink

<Photo taken from Tecno Spark Go.
For now, I skipped the background and inked the main character. There are too many blocking issues on the hair and other parts of the body so I needed to ink the foreground first in order to less complicate the process.
Step 3 Colored Ink

<Photo taken from Tecno Spark Go.
I would say that this is the step that requires the most effort. Due to the nature of the hair, I unintentionally almost finished it in this step. The mouth is also the same case.
I also finished the eyes and gems during this step since I plan to be using full gel pen on them.
I also discovered that I have a lot of black or dark parts and browns. I need to take this into account when making the background or else the whole art would be too dark.
Step 4 Skin Colored

<Photo taken from Tecno Spark Go.
I really liked the skin tone on my Random Art #4 and so this is probably the tones I would be using in this art and the future until I discover other good combinations in my limited color palette.
Colors Used: 050 061 047
Step 5 Hair Colored

<Photo taken from Tecno Spark Go.
As I mentioned, the hair was around 90% finished on Step 3. What I did is add a very light shade of another color for the highlight since I don't want pure white for the hair highlight.
Since the seawater is bad for the hair, I opt to do a wavy design. I also wanted to do each strand to see how it would look and that is the concept for the complicated hair.
Colors used: Red Gel Pen, 029 (Red)
Step 6 Clothes Colored

<Photo taken from Tecno Spark Go.
I decided to use dark gray colors instead of pure black in order to preerve the lines. As mentioned before, I also added the Ragnarok-inspired breast plate which is normally seen in the Archer job.
Colors Used: 049 052 051
Step 7 Gun and Knife Colored

I forgot to take a photo as I go to the next step.
For the Gun and Knife, I added a few more details before doing the colors.
Gun
Although not a perfect recreation due to my lack of reference, I tried my best to make a flintlock gun. These are the type of guns that you can normally seen used by pirates.
Colors Used: 060 052
Knife
I also used a green jewel for the ornament in the knife in order to complement the character's eyes. I felt weird seeing that only the eyes are green in color so I added something that would complement it.
Colors Used: 006
Step 8 Accessories

<Photo taken from Tecno Spark Go.
Bullet
After the inking stage while doing Step 3, I realized this one is out of place. It doesn't fit with the gun. What I should've done is added two pouches instead representing a gunpowder and the small circular bullets they use, kind of like a mini cannon ball. The belt is too plain so I added this but realized the mistake a bit too late. Still looks good though if you're not going to be technical like me.
Colors Used: Brown Gel Pen
Bag
The idea of the bag appealed to me making Cordelia look a bit more girlish so I adopted that from the main reference.
Colors Used: 006
Belt
I wanted the belt to be dark as well so I used this color. I originally wanted it to be black but I want the lines to not be overlapped and hence the decision of the change in color.
Colors Used: 022 (for the buckle)
The art is also becoming too dark so instead of coloring it, I added a design instead and some pencil shade for depth.
Armbands
Since this is small in nature, I also finished this one as early as Step 3. These are thoe bands you can see in both arms, the right one near the shoulders behind the gun and the one near the left hand.
Smoke Heart
I did a soft color for it but looking at it now, I shouldn't have inked it but rather just did a free style coloring without ink lines since it is a smoke.
Colors Used: Pencil shade
Step 9 Background

<Photo taken from Tecno Spark Go.
For the background, I decided the setting to be in the bridge of the ship. I also intentionally lightened the colors so that the background would not compete with the colors from the foreground as the main character is always the focus, not the background.
Step 10 Re-Ink
<Photo taken from Tecno Spark Go.

Believe it or not, this is the second most time consuming step. I needed to re-ink almost everything to make certain areas pop out for focus. I also added some additional details that I think the art needed. The most obvious is adding the dark part on the eyes. I didn't add it on previous steps because I thought I won't need it but her eyes seems a little dead so I decided to add it on the last step.
However, I am always satisfied when doing this step as I can kind of see the light at the end of the tunnel as the last step of the art.
If you are wondering why there are only 4 fingers, this was intentional as the last finger is unfortunately behind the gun. the barrel is quite big and however much I wanted to show the pointer finger, it just looked worse so I decided to hide it and not force myself to show it.
While I like the hair style, I think it should be done in style and moderation. When you first look at it, the first impression is really great but the more you focus on it, the weirder it looks for me. I also had a very limited space to style it due to the hair's nature.
I like how the outfit came together. Just like in my Random Art #4, I think I am correct on "The devil is on the details." The less simpler the outfit, the more you can appreciate the details on it. However, I need to take note to not make this overboard as anything excessive is always bad.
Lastly, I think I need to improve drawing inanimate objects. The gun honestly gave me the hardest time. I made it a lot simpler but I honestly think I should've added more designs like engraved letters, emblems or something to make it close to reality. It still went better than I anticipated so I am happy about it but it definitely can be improved.

- This post is an entry for Splinterland's Art Contest.
- Other sources that I do not own are cited under their respective photos. Photos and drawings without cited sources are mine and made for this post.
- Animated Banners and Dividers are edited in Canva Pro.
- Some of the fonts used are from instafonts.io
If you're interested in playing the game, support me by registering using my referral link here
ᕼᗩᐯE ᖴᑌᑎ ᗪᖇᗩᗯIᑎG!