
Time flies and there is no stopping it. As days pass like seconds, sometimes we need to look at the past, to realize the breakneck pace of life.
It's hard for me to believe, but the first trees on our tree farm were planted 10 years ago. When we first planted Black Walnut, Black Cherry, and Figured Poplar trees, many of our grandchildren were not even around.


By looking at the trees ten years later, it is easy to measure that time, as the saplings have grown into viable trees.
Over that time we have also grown, and we now consider ourselves pretty good homesteaders.
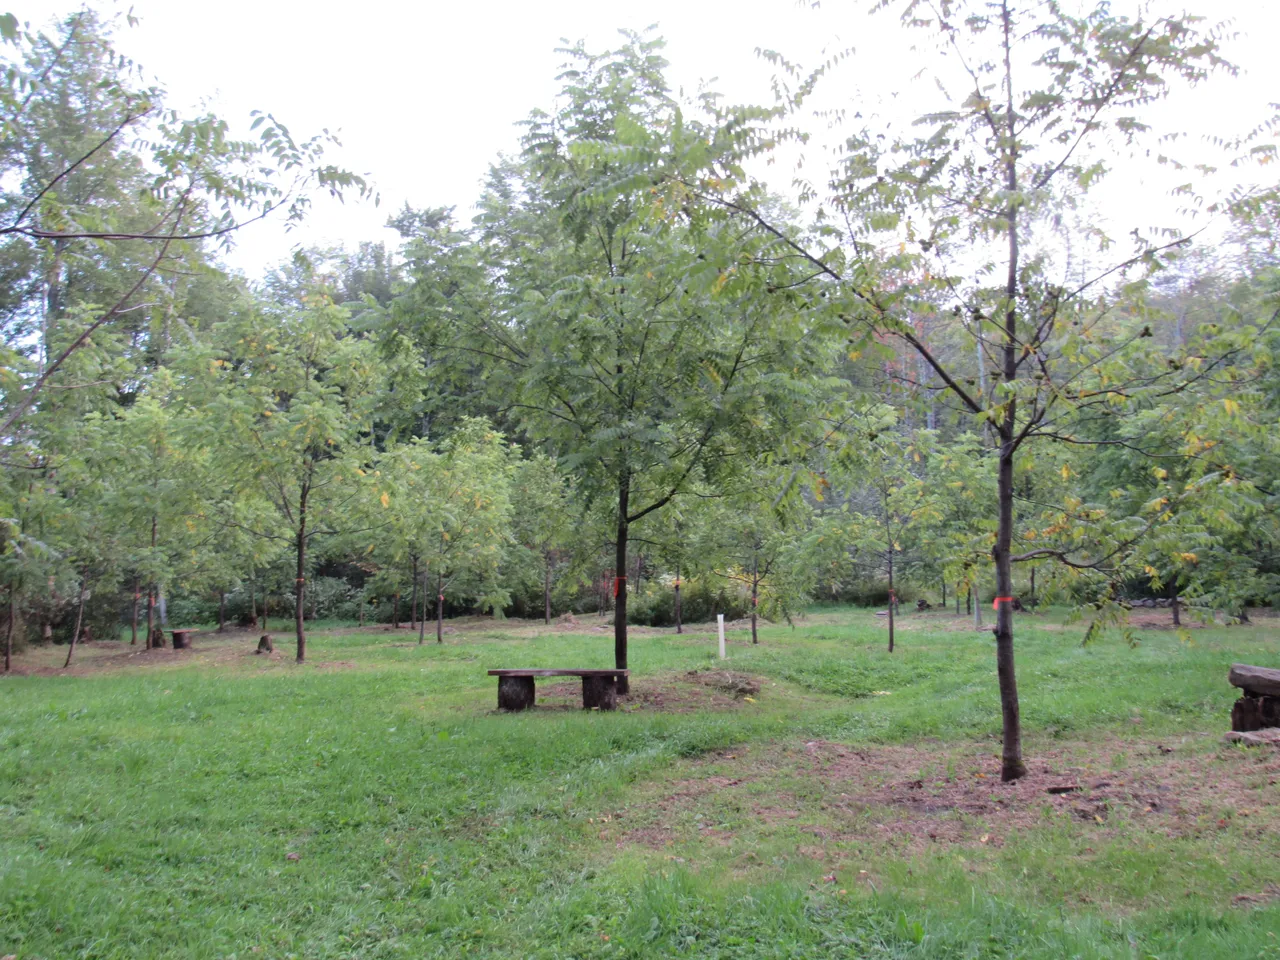


As the next ten years continue to become history, a full blown canopy should shade the forest floor.

Over the past ten years, it has taken much care to establish such a beautiful and productive woodland.
There are no shortcuts in maintaining a project like this, if one is to stay true to the belief that chemicals of any sort are

When the trees were first planted, moles were a big problem. Sure, chemicals would have taken care of that problem, but what else would have felt the effects. This is a live trap for moles as well as voles. It is baited with a piece of apple. It leaves no FOOTPRINT.
This approach takes some time baiting, checking and discarding the catch, but getting rid of these varmints in this fashion is reliable, and done without any collateral damage.
Now that the trees are older, this is no longer such a big problem, as the root systems are well developed.

Using hay as bedding, and also to deter the growth of weeds, is a great way to go. Much better than some sort of fabric or plastic.
The process of spreading the hay from the trunk of the tree to the drip line of the tree is no small feat.
With over 300 trees presently planted, it takes over 100 bales of hay, and several days of spreading out the hay.

For years, not wanting to use

and creating a situation like this, the weeds surrounding each and every tree were pulled by hand.

https://images.search.yahoo.com/yhs/search;_ylt
A farmer that lives up the road a piece, turned me onto this little home remedy for killing weeds. This remedy has saved us countless hours of work. The best thing is that it leaves no FOOTPRINT.

The ingredients in this concoction include white vinegar, epsom salt, and Dawn liquid dish detergent.
- 1 gallon of vinegar
- 2 cups of epsom salt
- 1/4 cup of dawn dish detergent.
This is mixed in our sprayer, and will be applied at the base of every tree.

I was a little skeptical the first time I tried this method, but it worked like a champ.
Once again, a way of dealing with a problem without the use of chemicals.

This is just the second year that the walnut trees have produced any walnuts. Knowing, that years of using poison was not part of our routine, these beautiful nuts look very appetizing.

Last year's crop would have provided us with some walnuts if it were not for the squirrels.
This year it was game on!

Just days prior to this picture, I had checked to see if the squirrels had stripped the trees. With no apparent signs of them squirreling away the goodies, we let down our guard. That was a big mistake, as several days latter the little b------s had stolen over 80% of the nuts.
My first attempt at hindering their thievery was to wrap the trunk with aluminum foil.
I was sure this would solve the problem. By the time I had completed this task, night was upon us.
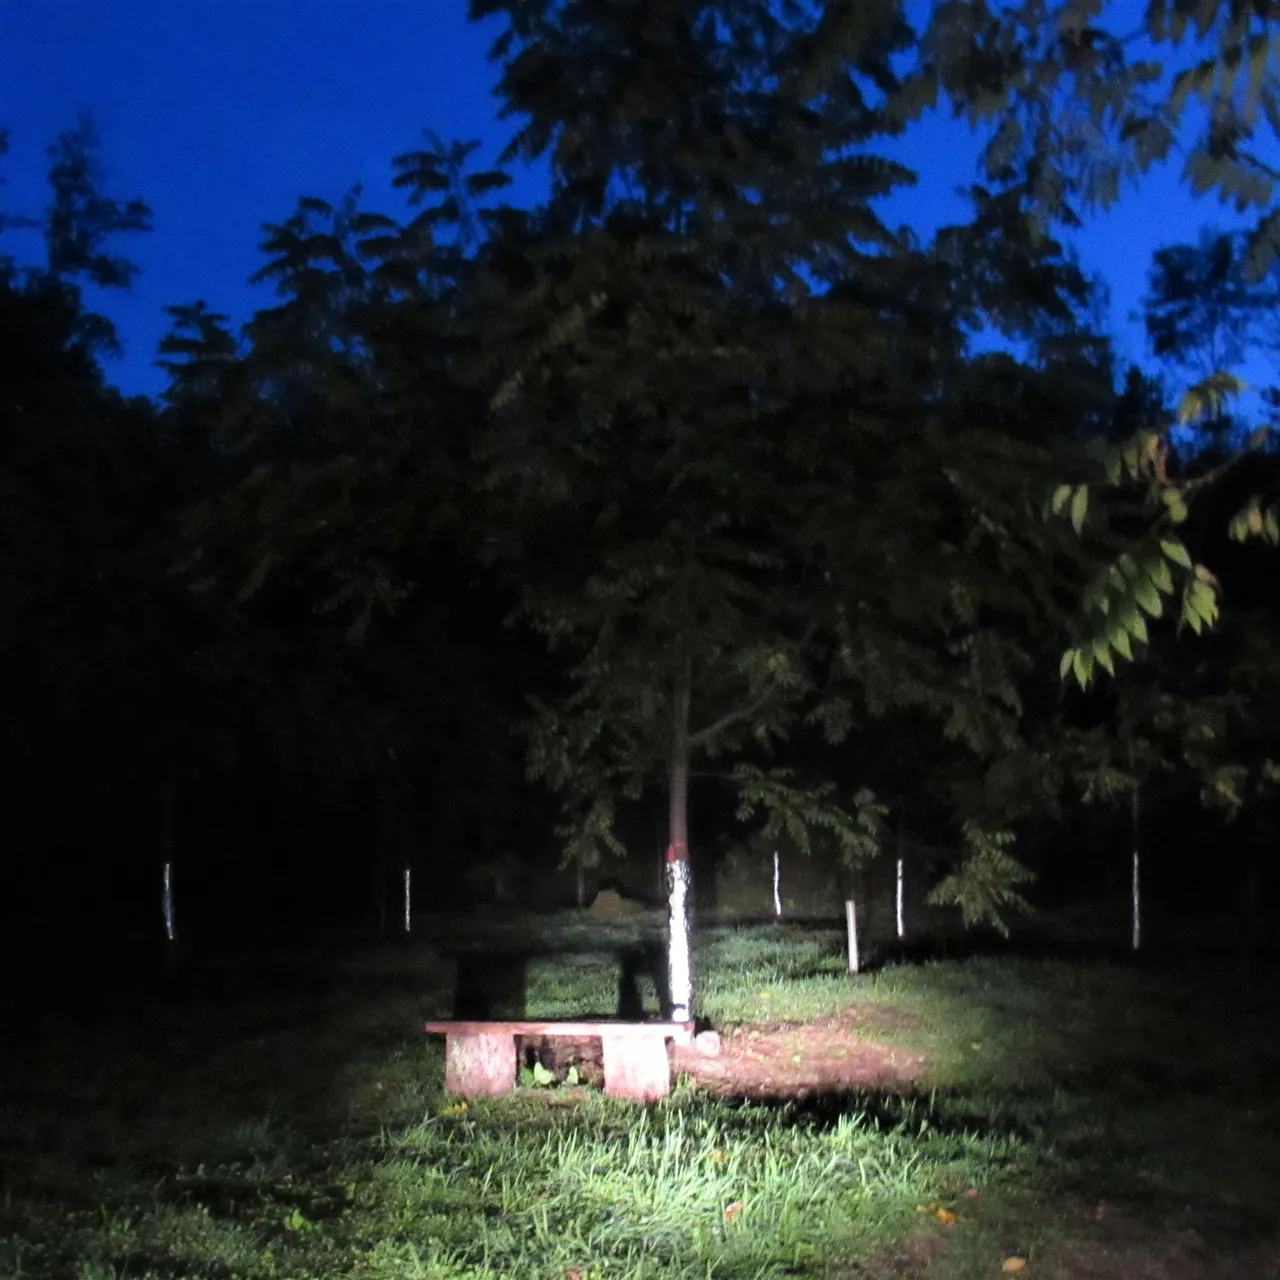
Later that evening we took a ride on our bikes to gloat over the sure fire remedy we had installed, at a frenzied pace. With the full moon lighting up the night sky, and our headlights glistening off of the aluminum foil, a sense of ease had replaced panic.

Not so fast, is what I could hear the squirrels snickering, as about 50% of the remaining walnuts had vanished.
While inspecting the foil that had wrapped the trunk of the trees, I could see claw marks in the foil. This method didn't slow them down at all, it probably just pissed them off.
We had to come up with another solution. I remembered that I had saved all of the tree shelters that had been placed on the trees when they were young.
We were able to slice the tree shelters, and work a couple around the trunk, acting like a skirt.
By morning I would know if this had worked, or would all of the trees be stripped of their bounty.

The next morning I checked out the situation, and with a sigh of relief, I realized that I had come up with a solution.

Several days later we harvested 149 walnuts.
Yea, there were so few left that I was able to count them, but at least we had some.

It's said that patience is a virtue, and after ten years of waiting it was time to process our very first round of walnuts.

A 3 lbs. sledge, and a hard surface is all it takes to remove the husk.

The color of the juices of the walnut husk is a beautiful yellow, but don't let this fool you. When removing the husk from the nut it's a good idea to wear gloves. The yellowish stain you see on the gloves will turn black as night within 30 minutes. If you get it on your hands, it will take a week or so to finally wear off.

The next step in processing walnuts is to float them. This method is used to determine which walnuts are no longer viable.
You simply submerge the nuts in water, and the ones that float are discarded.
In this picture you will see 3 that have come to the surface.
The shells of these nuts have been compromised, and oxygen has penetrated the shell. These spoiled nuts will float.

Continuing to clean the walnuts is done by placing them in a Spackle bucket half filled with water, and stirring them.
This can be done with a cordless drill and a metal paint wand.

Vigorous mixing will clean up any leftover husk.

The clear water has turned a dark brown, almost black. After repeating this process three times, the walnuts are ready to be put in a rack for drying.

They need to cure for no less than 2 weeks, after that it's down the hatch.

After curing for two weeks the walnuts have turned brown from the stain in the husk.

@farm-mom already has big plans for these nutritious delights. I'm sure she will have me cracking like crazy, at least 50 right off the bat. After that, with the shell intact, the walnuts will last for quite a while, but I don't think long term storage will be an issue.😃

This nice little pile of nuts came from four shells. While trying to take this picture, I could barley contain #farm-mom from gobbling them up.

Hope you enjoyed!