
Starting with a plan
Yesterday, I've shared my first tryout of dot art using a plaque of salt dough, which you can find by clicking here. Using salt dough is easy and cheap (see the first post for recipe). At this moment, I'm using the acrylic paint that I have left in my house, as I feel that's probably the smartest thing to do while learning this. I've used a very small brush as this was by far the easiest one to create the dots. But if you are trying this out, you'll have to feel what works best for you.
Although it looked ok, it was nothing how I hoped it would turn out. I decided that the only way to really get the feeling of making mandala-like dot artworks, is practice, practice, and probably some more practice! I aim at creating one work a day as I find it quite meditative to do so as well.
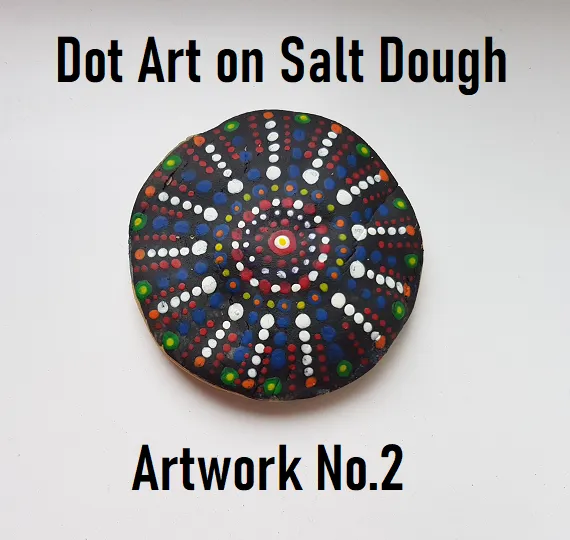
I had one salt dough round left yesterday, and I painted it black before I started dotting. So this time I was planning on using other colors to give it another effect. Unfortunately, this one wasn't really flat either, but I will try to work on that next time, hopefully, when I make these again, they will turn out a bit more flat and equal on the surface. I've just googled a random example on the net that popped out, to get inspiration for the dotting pattern I used on this second work.
The process
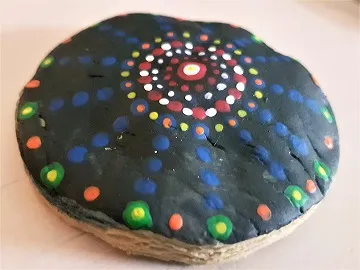
I tried taking pictures of the process because I find it cool to look back after a while to see how I created the artwork. I made this one at night, so the light is horrible, I'm sorry! However, I made sure that I waited to capture the end result during day time for the best picture possible.

Above the first three pictures I took, I started with a big dot in the middle, smaller ones around it, and then I used blue dots followed by pink ones again. As you can see in the second picture, the blue ones totally faded away after they had dried. This is possibly due to the fact that I didn't use any protective layer on the dough before starting to paint (I'm trying to find something for that today or tomorrow), but it's also possible that this happens because my choice of colors and an optical illusion :) What do you think?
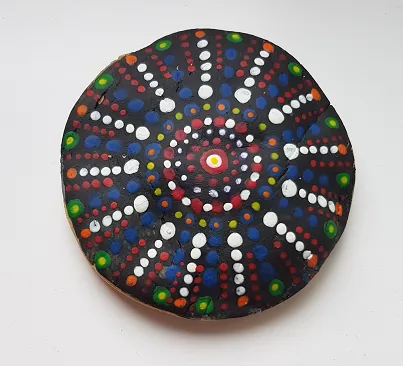
I apologize for the non-sharp picture of this step, but it's (unfortunately) the only one I have taken at this point in the process. Here I added a second color dot on several others and I think it gives a nice effect. After this, I finished the work, so here we have the end result:
My dot artworks so far
As I plan on creating one artwork a day, I thought it would be a cool idea to take a picture of the artworks so far every time as well. So here are numbers 1 and 2 together.
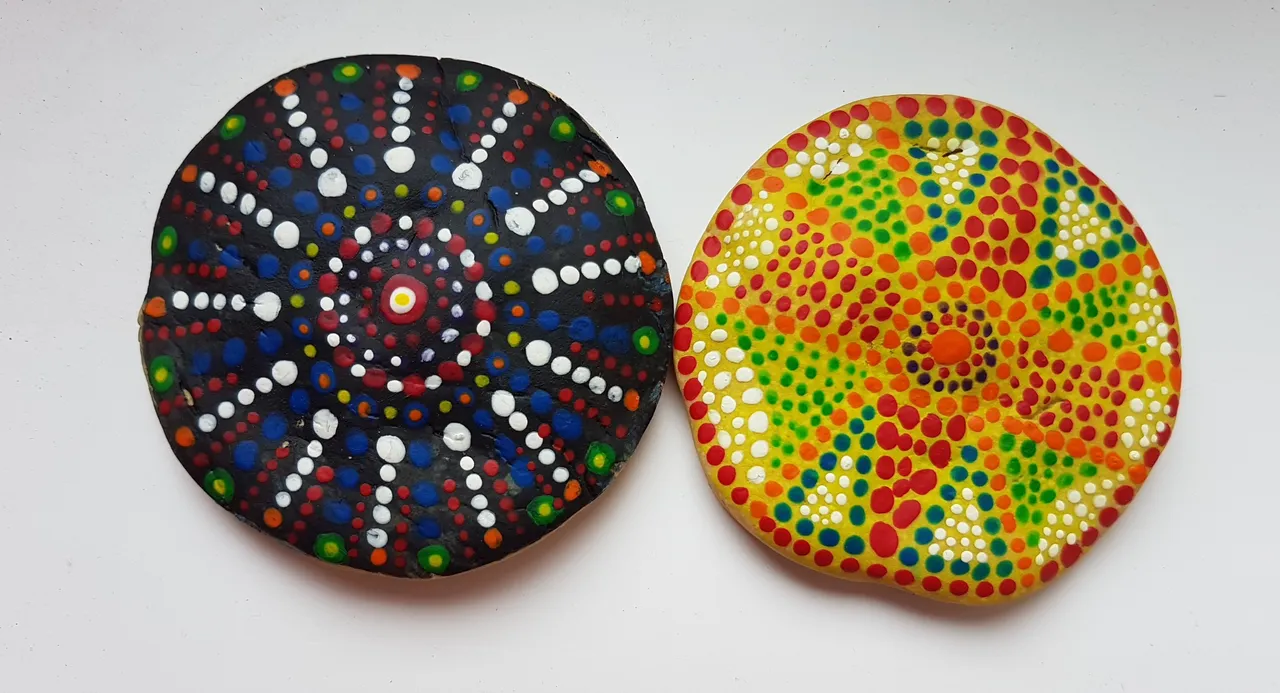
My favorite work so far: The one on the left (no.2).
Thanks for stopping by!