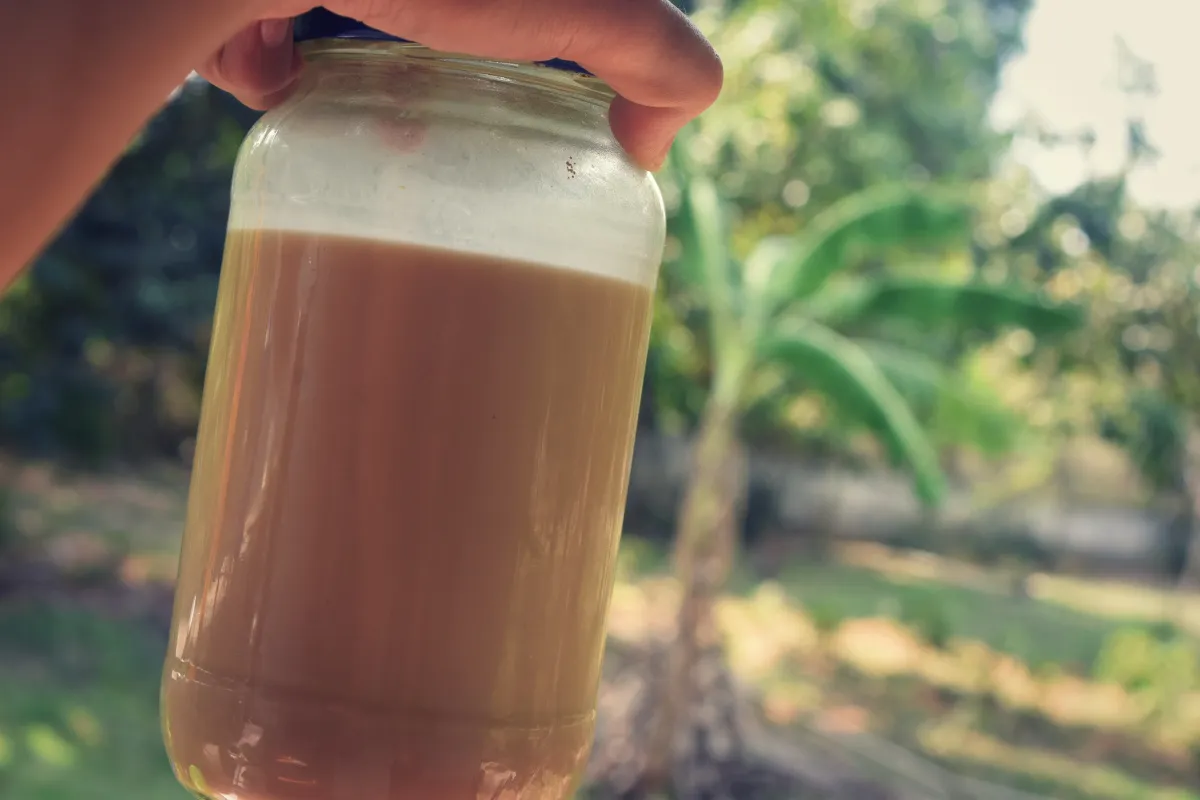
Ready to learn how to make your own nut milk at home? It is super easy, cheap and chemical-free. And the best part it tastes so much better than the storebought kinds of nut or seed milk. Plus homemade nut and seed milk is healthier than many store-bought options as there are no gums, chemicals or nasty ingredients used in the process.
All you need are nuts, water, a blender, and a straining bag or cheesecloth. That’s it!
Though I will show you in this tutorial how to make roasted peanut milk, the process is the same to make any seed or nut milk. I’m personally a fan of my homemade hazelnut milk, but hazelnuts are not easy to find in Cambodia and if we do find them they are super expensive.
That's why I started making roasted peanut milk. In Cambodia, peanuts can be found everywhere and they are super cheap too. That's why we started making roasted peanut milk and now we are addicted lol.
HOW TO MAKE NUT MILK AT HOME
BTW This is my entry to the Qurator's Tasty Tuesday #76. Are you a foodie too? Definitely check out this lovely weekly steemit contest.

OPTIONAL Step : Roast nuts
Though I haven't tried this with all nuts, roasting the peanuts first gave the milk a yummier and stronger peanut flavor which we absolutely loved.

Step 1: Soak nuts
As I have said this process can be used to make any nut and seed milk. The only slight difference will be the soaking times.
I recommend soaking most nuts overnight in cold water, but you could get away with a minimum of 4 hours. Alternatively, you could soak them for 1 to 2 hours in very hot water.
I added a list of minimum soaking times of my favorite nuts below.
- Almonds: 8-12h
- Pecans: 4-6h
- Macadamia nuts: 8h
- Brazil nuts: no soaking required
- Cashew nuts: 2h
- Peanuts: 8h
- Hazelnut: 8h
- Pistachios: no soaking required
- Walnuts: 4h
FYI: no need to use skinned or peeled nuts as you will blend and strain the nuts.


This little girl (see pic below) was interested to get some of my peanut milk. Having a tropical outdoor kitchen is so much fun. Though at times these little rascals are too interested, I love cows and they always make me laugh. There are 7 cows freely roaming the 4 hectares we rent. They are not meat for meat or dairy, just to keep the grass short. Happy cows.....


Step 2: Blend nuts
Discard the soaking water and briefly rinse the nuts. Soaking nuts helps to remove anti-nutrients such as phytates and enzyme inhibitors. Plus they will be easier to blend too.

Place soaked nuts with filtered water in your blender and blend for 1 to 2 minutes. Or longer if you don't have a high-speed blender. Blend until there are no lumps of nuts left and the liquid is smooth and creamy.
Can’t be any simpler than that. Use about 2 to 4 cups of filtered water per cup of soaked nuts. If you want a thicker nut milk, use less water. Start with 2 cups and add more water until you have the consistency you prefer.
I used 2 cups of nuts and 4 cups of water.


OPTIONAL Step: Be Creative
Although nut milk is nothing more than nuts and water, adding a pinch of sea salt, vanilla, dates, cinnamon powder, raw cacao powder, cardamom, or turmeric makes it more interesting and nutritious.
There are of course much more flavors you can add; it’s up to you to experiment and have some fun. Though if you are new to making nut milk, keep you first batch nice and simple.
Before going to the next step, make sure all ingredients are well blended.

Step 3: Strain the liquid
Strain the milk through a nut milk bag or cheesecloth. Squeeze well to get all the milk out.


FYI: don't throw away the pulp. You can use the leftover pulp in smoothies, baked goods, dips, or dehydrate it to make nut flours. You can even freeze it for later use or compost it.
Nothing goes to waste here!

Step 4: Store And Use
Store the nut milk in the fridge, preferably in a glass jar or bottle with a lid. It’ll be good for about a week or more. It is normal for homemade nut milk to separate, so give it a good shake before using it.
Add nut milk to your smoothies, chia pudding, muesli, porridge, dips, vegan-style desserts, or baked goods.

EASY-PEASY LEMON SQUEEZY.... ENJOY ღ ღ ღ
FYI: For green smoothie tips, tricks, and recipes, download my FREE GREEN SMOOTHIE EBOOK HERE!
ALL CONTENT IS MINE AND ORIGINAL!
PICTURE(s) TAKEN WITH NIKON D5600
LET'S CONNECT!
🥑🍓🍆 FIND MORE YUMMY PLANT-BASED CREATIONS BELOW 🥑🍓🍆
SMOOTHIE OF THE DAY | BANANA ALMOND CINNAMON MORNING BLISS
VEGAN SNICKER BARS (SUGAR-, DAIRY- AND GLUTEN-FREE
SMOOTHIE OF THE DAY | CREAMY ROASTED PEANUT MILK SMOOTHIE
5-MIN SUGAR-FREE MANGO PASSION TURMERIC CHIA SEED JAM
ALOO BROCCOLI WITH HOMEMADE SPICY MANGO CHUTNEY
MANGO ALMOND RICE PUDDING (#FRUITSANDVEGGIESMONDAY)


