Hello my sweet thursday friends !
Two days ago I have shown you this bunny girl painting made for a contest and promised you the Behind the scene so here is the first part of this long tutorial :
The background creation
Il y a deux jours, je vous ai montré cette peinture de Mademoiselle Lapin faite pour un concours et vous avais promis de vous montrer les coulisses de fabrication... alors voilà la première partie de ce long Tutoriel détaillé :
La création de l'arrière-plan

Here is my starting point:
- a thick sheet for the watercolor work that I cover with a layer of white gesso
- my Neocolor II watercolor pencils as well as Inktense sticks (green in the photos) that are also water soluble

Voici mon point de départ :
- une feuille épaisse pour le travail d'aquarelle que je couvre d'une couche de gesso blanc
- mes crayons aquarellables Neocolor II ainsi que batonnets Inktense (verts sur la photos) qui sont également solubles à l'eau
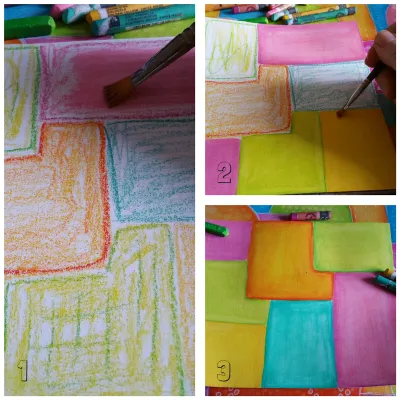
After having colored blocks of different colors with Neocolor II wax pastels,
- You can see on 1 &2 that I make the painting appear with my brush and water
This is the magic of water soluble crayons, and it works the same with the green ink sticks Inktense from Derwent - Colorful and vivid result on 3. _
Après avoir colorié des blocs de différentes couleurs avec des craies Neocolor II,
vous pouvez voir sur les photos 1 & 2 que je révèle la peinture avec mon pinceau et de l'eau
C'est la beauté des crayons hydro solubles , et cela fonctionne de la même façon avec les bâtonnets d'encre verts Inktense de DerwentEn photo 3 vous avez le résultat coloré et lumineux _
Here is the moment when, the colors of this background not being definitively dry,
- 4/ I take advantage of it to rub a damp cloth through stencils, which causes to remove the painting in certain places, and to protect it in others (this is operating mode of the stencils ;-) ...)
- 5/ In the places where the painting left, it's the color underlying that appears... here, the white color of my first layer of gesso ;-)

Voici le moment où, les couleurs de mon fond n'étant pas encore définitivement sêches,
- 4/ j'en profite pour passer un chiffon humide à travers des pochoirs, ce qui a pour effet d'oter la peinture à certains endroits, et de la proteger à d'autres (c'est le principe du pochoir ...)
- 5/ aux endroits où la peinture est partie, c'est la couleur du dessous qui apparait, soit ici la couleur blanche de ma couche de gesso ;-)
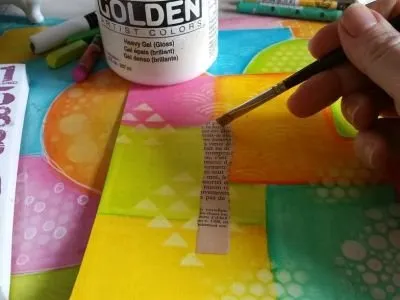
I glue some pieces of torn paper
(I will add some others all along my painting according to my inspiration ...)
Je colle quelques morceaux de papiers déchirés
(jen rajouterai tout au long de ma peinture au gré de mon inspiration...)
I think then I could add stamped patterns^ _ ^
- 7-8-9/ I use a kinda fancy floral stamp with an archival acid-free pigmented ink (Versafine)

Je me dis que je rajouterais bien des motifs en tampon _
- 7-8-9/ j'utilise un tampon au motif floral fantaisiste, avec une encre pigmentée à sechage instantané sans acide (Versafine)
- 10/ Adding some dots, lines and shapes with a fine white Posca liner (permanent Ink)
- 11/ Here is my background ready to receive the main character _

- 10/ J'ajoute quelques pointillés, traits et motifs avec mon feutre blanc Posca (encre permanente)
- 11/ Voici mon arrière plan prêt à recevoir le personnage principal de cette peinture _

Hope you have enjoyed this part one showing the background 's creation,
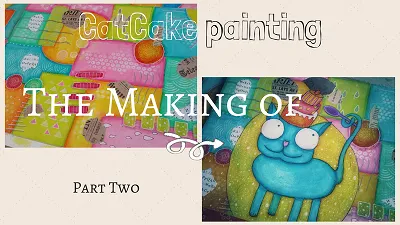
Discover here the part two and the creation of the bunny girl _

J'espère que vous avez apprécié cette 1ère partie expliquant la création de l'arrière-plan
Retrouvez ici la partie deux et la création de Mademoiselle Lapin ^ _ ^
To see my latest tutorials :
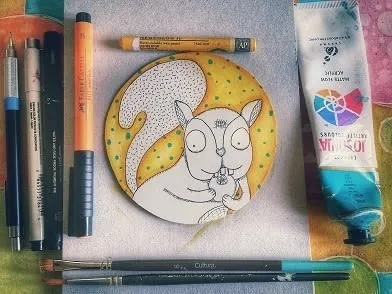
DoodlySquirrel - the making of / Doodly l'Ecureuil - le tuto [ENG-FR]
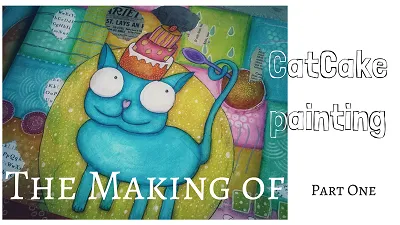
Cat in Hat contest, my CatCake painting - Le chat au Gapeau, coiffé colorigolo [ENG-FR]
Feel free to for your DailyWonkieDose _
for your DailyWonkieDose _And follow @luigi-the-gnome's funny adventures =))