
Hello my freaky friday friends !
Today I show you the part 2 of the making of my BunniGirl painting
You can find the part one here which is the making of the background
...might be very interesting for you if you are eager to make some mixed media work ;-)

Aujourd'hui je vous montre la partie 2 de la réalisation de ma peinture MademoiselleBunny.
Vous pouvez trouver la 1ère partie ici qui montre la création de l'arrière-plan
...Cela pourrait se réveler d'autant plus intéressant si vous êtes désireux de faire des tableaux à base de différents medias ;-)
So we stayed with our background ready to receive a character ...
- 1 / I sketch roughly on a paper a lady bunny as she wishes to appear to us ;-)
- 2 / When I'm satisfied I reproduce this drawing on my canvas


Nous en étions donc resté à notre arrière plan qui était prêt à recevoir un personnage...
- 1/ Je dessine brièvement sur une feuille une demoiselle bunny telle qu'elle souhaite se manifester sur la toile ;-)
- 2/ Lorsque je suis satisfaite je reproduis ce dessin sur mon tableau
- 3/ I paint a layer of white gesso to isolate my character from the background and be able to give her her own colors ;-)
- 4/ I redraw the details with a pencil

- 3/ Je peint une couche de gesso blanc pour isoler mon personnage de l'arrière-plan et pouvoir lui donner ses propres couleurs
- 4/ Je redessine les détails avec un crayon
- 5/ I color the different parts of Bunny with my Neocolor II (see their use in Part one) and spread with my wet brush
- 6/ I outline with a black fineliner 0.005

- 5/ Je colorie les différentes parties de Bunny avec mes Neocolor II (voir leur usage dans la première partie) et j'étale les pigments avec un pinceau mouillé
- 6/ Je trace les contours avec un feutre noir ultra fine pointe de 0.005
I shape the shadows with the FaberCastell PITT felts that I blend with a Qtip
I have added and glued some other papers along the way...and voilà !

Je modèle les ombres avec les feutres PITT de FaberCastell que j'estompe avec un coton tige
J'ai ajouté et collé quelques morceaux de papiers tout au long du chemin et voilà !
I hope you enjoyed this last part of the tutorial, and that you love the painting as well _
I wish you all a 
To see my latest tutorials :
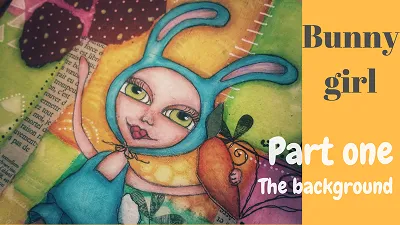
My BunnyGirl painting's tutorial Part One - Tutoriel de MademoiselleBunny, 1ère partie [ENG-FR]
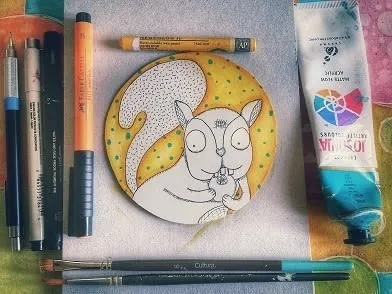
DoodlySquirrel - the making of / Doodly l'Ecureuil - le tuto [ENG-FR]
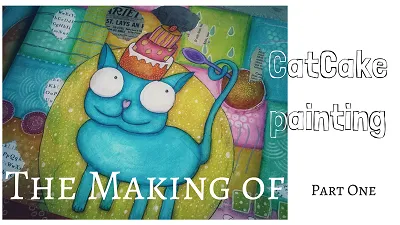
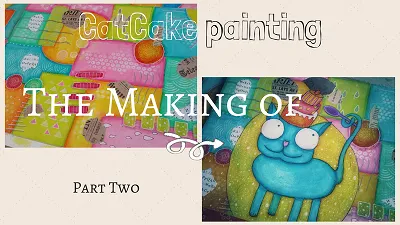
Cat in Hat contest, my CatCake painting - Le chat au Gapeau, coiffé colorigolo [ENG-FR]
Feel free to for your DailyWonkieDose _
And follow @luigi-the-gnome's funny adventures =))

To see my latest tutorials :
My BunnyGirl painting's tutorial Part One - Tutoriel de MademoiselleBunny, 1ère partie [ENG-FR]
DoodlySquirrel - the making of / Doodly l'Ecureuil - le tuto [ENG-FR]
Cat in Hat contest, my CatCake painting - Le chat au Gapeau, coiffé colorigolo [ENG-FR]
Feel free to for your DailyWonkieDose _
for your DailyWonkieDose _And follow @luigi-the-gnome's funny adventures =))